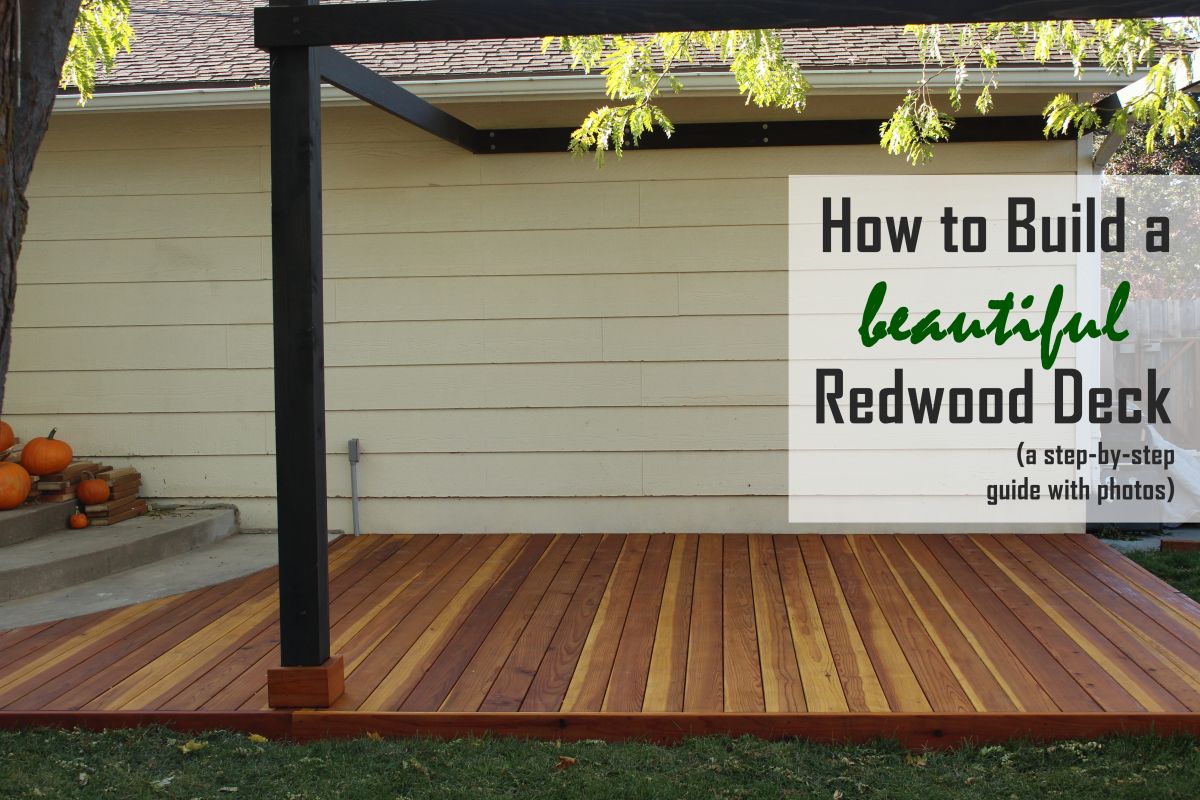
How to Build a Deck

Building a deck can increase the value of your home and provide you with outdoor living space to enjoy all year.
If you’re looking for a basic deck build you can pull off with low to medium carpentry skills, we’ve got you covered. We’ll walk you through constructing a redwood deck.
Step-By-Step Instructions To Build a Deck in Your Garden
If you’re interested in building a redwood deck, this article will point you to the guides that walk you, step by step with photos, through the process of how to build a deck.
Step 1 – Remove Existing Concrete

To begin, remove any existing patio concrete under the point of your deck so you can install footings in the ground.
To remove your patio concrete, you’ll need a pry bar, a heavy-duty sledgehammer, and a high lift jack. If your old concrete is already cracked, it will make the process much easier.
Start by finding a section where the edges or cracks meet, and use the pry bar to begin the removal work. The sledgehammer will come into play to further the process.
Removing old concrete takes a good amount of time and effort, so recruit a friend or family member to assist you. If you have no existing concrete to remove, move on to the next step.
Step 2 – Concrete-Mounted Frame

If your deck neighbors part of your home’s foundation, you’ll save yourself a bit of work by using the concrete foundation for part of your deck frame.
While this process takes some muscle, it’s easy compared to footings.
Also, this is a very effective way to build a frame for a curved part of a deck. You’ll need a rotary hammer drill to mount the deck frame, which is an excellent tool for working through concrete.
Step 3 – Install Deck Footings

For the parts of your deck that aren’t next to a concrete foundation, you can install footings as your base support for the deck frame. There are several ways to approach this task – our tutorial involves installing 4×4 posts into holes and using quick-set concrete to secure the posts.
Another method of installing footings includes brackets placed into concrete, which (although it’s written for installing pergola posts) you could use for deck footings as well.
Step 4 – Build Deck Frame

Once your footings are dry and/or your wall-mount frame is complete, you’re ready to finish up your deck frame. Our deck-framing tutorial shows you how to level your deck frame and install a double-2×6 beam, both as an outer frame and also as an inner beam, for adequate joist support.
Framing isn’t hard but takes time and effort to get everything level and accurate. Laying a precise foundation, such as in your deck framing, will make the rest of your deck-building process much easier.
Begin installing your deck frame at the sturdiest point of the deck. Take time with the measurements. You may want to add more framing for support, depending on the size of your deck. While there are a lot of steps to this process, don’t get overwhelmed. Take them one at a time to create a fantastic final result.
Step 5 – Install Deck Joists

With your perimeter and inner frame beams installed, it’s time for you to install the deck joists.
Deck joists are the pieces of lumber that run perpendicular to the deck floor and hold it up. So, in other words, the frame supports the joists, and the joists support the floor.
Our tutorial will show you how to install the 16” spaced joists efficiently and effectively.
Tip: Strategize the direction you want your wood deck floor boards to run based on lumber lengths and visual effects, and hang your joists perpendicular to that direction. The direction that the boards run will feel larger.
For most people, this is one of the most exciting parts of how to build a deck. Once the deck joists are in place, you can visualize the final results.
Step 6 – Install Deck Floor

With your frame in place supporting the deck joists, it’s time to install your deck floor. Our method is efficient and results in a deck floor with no visible screws. You don’t want to miss out on this deck floor-laying tool and technique.
Before starting, ensure you are squared off. Use precision and care during this process, and don’t rush installing your deck floor. If there is a curve to your deck, start with the outer part of the curve. A deck spacer will be one of the best tools to assist you.
Step 7 – Install Curved Deck Floor

When we were researching methods that “regular” (e.g., non-professional) people used to install their wood deck floor on a curve, we found little information. So, we developed a simple method (which uses kitchen wax paper) to mark our curves.
You’ll look forward to running your deck floor up to your curved patio steps after learning this simple way to custom-fit a wood deck floor.
Start with the outer curved floorboard so you have enough space at the top to mount it. It will also make it easier to figure out the alignment and create a better overall aesthetic.
Step 8 – Install Deck Trim

With your deck floor installed, you might feel like you’re about done with the project. And you’re very close.
Before staining and sealing the deck, add your finishing touches – including wood trim around any posts and the side of your deck.
Our tutorial will show you simple methods to trim like a professional. There are a couple of ways you can achieve this finish, and it will create a polished and professional look for your DIY redwood deck.
Step 9 – Stain & Seal the Deck

While most fresh wood looks good raw, that new look doesn’t last. Sooner rather than later, your redwood will begin to grey and age. You can prevent this by using a stain and sealer in one.
Our tutorial will show you the best redwood deck staining product and how to apply it in one step for a gorgeous, lasting finish.
You’ll need to restain every couple of years for optimum wood preservation and function. But this process can be done in a few short hours, with results that last years.
There are mixed opinions on staining decks, and some people wait between three and twelve months to let the wood dry before staining. However, we recommend waiting a week after installation before sanding and sealing the wood.
If you live in a snowy or cold place, you’ll want to protect the wood straight away, or you’ll risk it getting destroyed within your first winter. Of course, this is all up to personal preference and may depend on where you live.
Redwood Deck: Before and After Photos

Here are some before and after photos of the deck area shown in this example.

The new deck (with accompanying pergola) has certainly added value to the home and its owners’ lives.
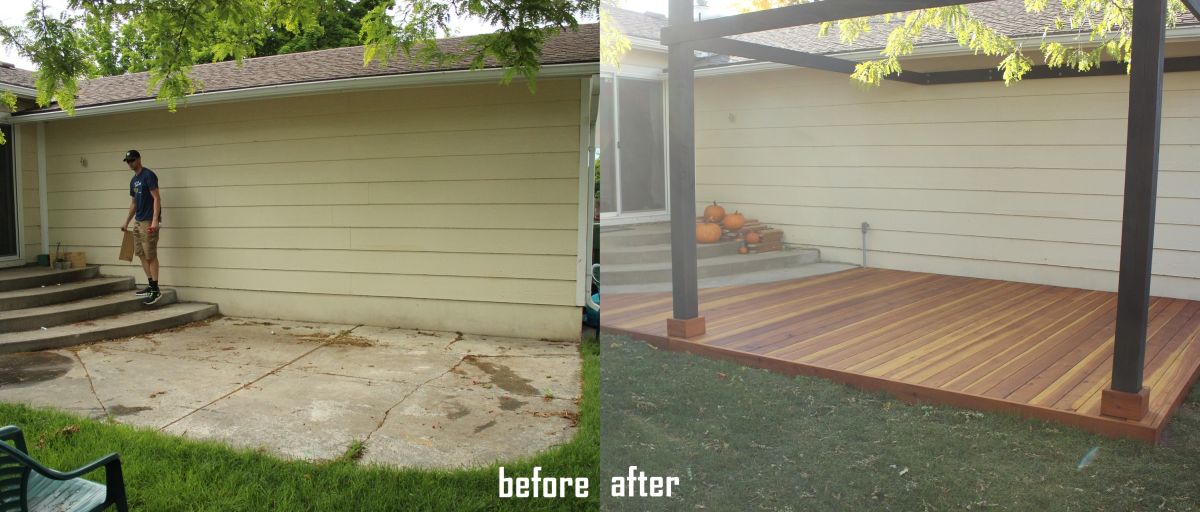
The backyard not only looks better with this deck in place, but the patio area also looks larger as a result of the deck.

A slight, step-height lift works beautifully here…

…the deck floor is not too high to be unsafe but low enough to allow the deck to run next to the curved edge of the first step.

One last before and after photo showing the richness of color in the backyard. Even though the season is close to winter in the second photo, the space looks more vibrant than the summertime brightness of the first photo.

We hope you find these deck-building articles useful as you realize that you, too, can build your own deck.

Building a redwood deck can seem like a daunting project, but by following these instructions and breaking the process down into stages, you’ll find it’s an enjoyable experience. Of course, DIY projects are always more fun when you have someone to help you.
Recruit a friend or family member to give you a helping hand, and you can enjoy bonding over this project. A deck can transform your garden, and you’ll love sitting out here for years to come.